Hennock

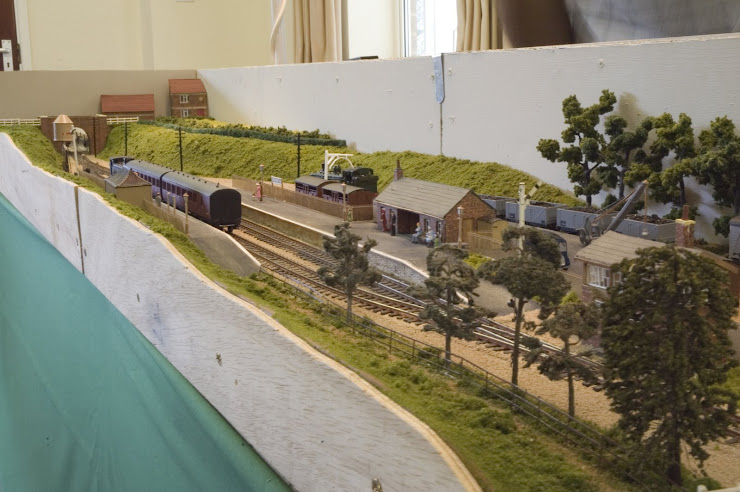
General view of Layout.The facia has since been varnished.
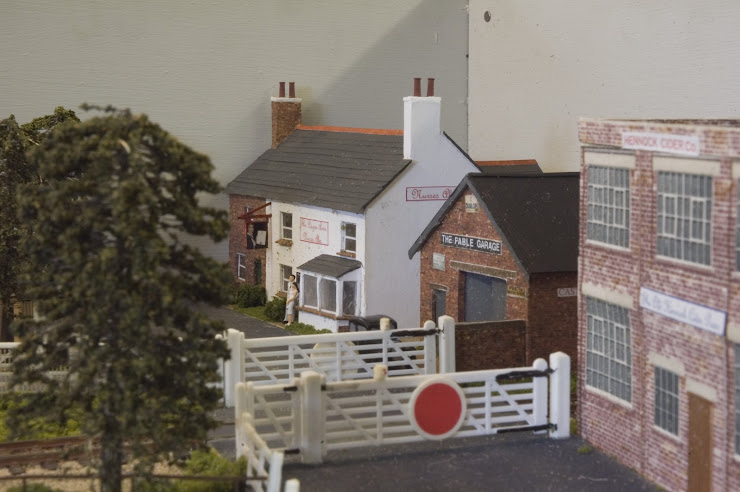
The Degree Inn

In recognition of my eldest Daughter's achievement. She is also the one who gave me the push to build the layout.
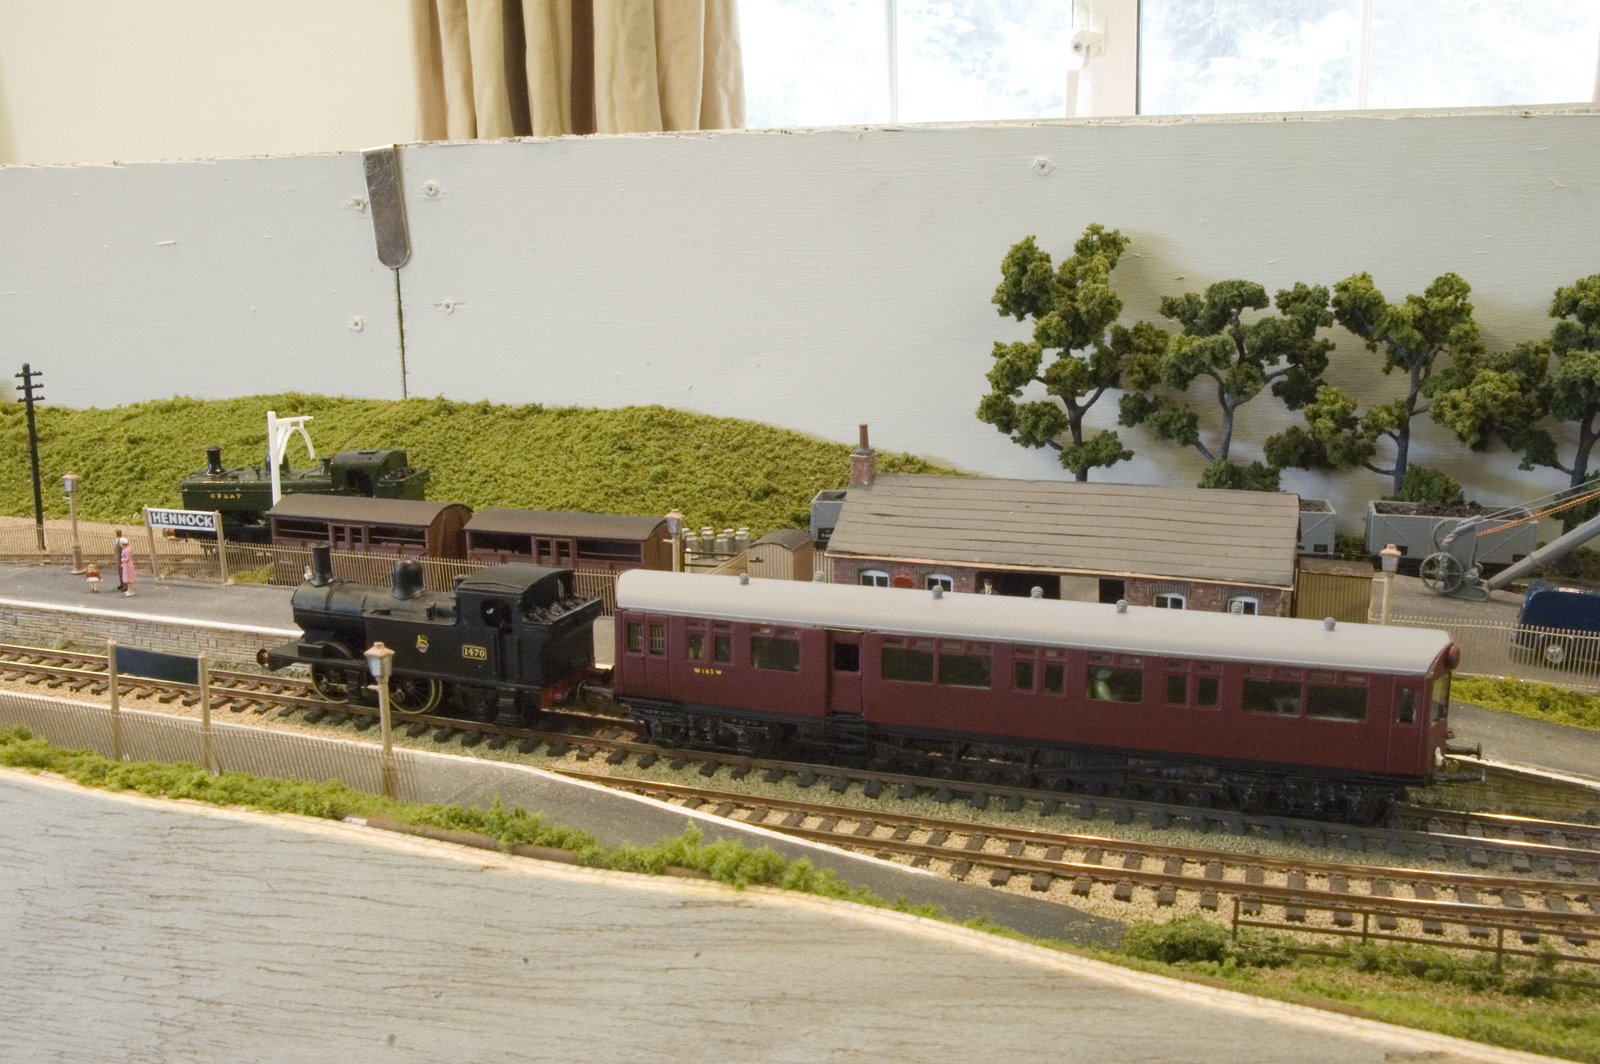
14XX and Autocoach

Shows Station building-based on Staverton.
Hennock Track Plan

Sunday, December 25, 2011
Thursday, December 22, 2011
Southern Brake Van
The chassis is slightly different on this model. Unlike the Parkside kits of Brake Vans, this one has the axleboxes already mouded to the W hanger.
The pin-point bearings just need to be inserted in the moulded hole, I secured it with a smear of Mek which seems to hold it.
The outer side is shown below- this is from the sprue and I haven't read the instructions further to see if anything else needs attaching!
The pin-point bearings just need to be inserted in the moulded hole, I secured it with a smear of Mek which seems to hold it.
The outer side is shown below- this is from the sprue and I haven't read the instructions further to see if anything else needs attaching!
Tuesday, December 20, 2011
Southern Brake Van
A better picture of the uneven planking of the van is shown on the right. The instructions suggest building the body and then attaching to the floor. However, as the floor is slightly bent, I have tried to make it withe the two being joined at the same time.
This has straightened out the floor to an extent, it remains to be seen whether this will bring it all square.
I must say that the detail is superb, just need to do a bit of distressing to the planking before I paint it, maybe it will bring out a little more detail.
By the way, I have visited Games Workshop and obtained the weathering paint in readyness for Tom Rayers visit to the Group in April.

Sunday, December 18, 2011
Drewry 04 Diesel Shunter
If you were paying attention, I mentioned that this Worsley Works kit had been purchased at West Byfleet.
As luck would have it, this chassis in the photo has been prised from Nigel Cullimores hands to provide the wheels and motor/gearbox. The Worsley kit has a chassis and these wheels etc. will be transferred to the new build to provide the necessary power.
So have everything to proceed-all I want is the time!!
Saturday, December 17, 2011
Friday, December 16, 2011
The Bachrus Saddle
This piece of equipment is an absolute boon to those of us not able to have a continuous run layout.
Available from Finney and Smith-see link, this particular set can be used for 'n' Gauge up to '0' Gauge (Just). The basic set comprises of three saddles designed to attach between the rails of your chosen track- I have made a couple of plinths, one with 12mm track and the other with 16.5mm 00 gauge track.
The saddles come with a designated allen key and a couple of spare grub screws. Simplicity itself to install and use, the lower photo shows a Pannier being run in, I can keep an eye on it should it stall whilst running in front of me on the workbench. Highly Recommended!
Thursday, December 15, 2011
Ten Thousanth Visitor
Over the last couple of days the 10,000th viewing of the blog occurred.
Thank you all for visiting, it is gratifying to know that there is interest in 3mm Scale. Also, I must be posting articles that interest you so please let me have feedback so I can continue with interesting themes.
Interest seems global, I have had viewings from Australia, America, Argentina, India, China and even Iraq- plus many others, the list is endless.
From a casual beginning, the blog has grown and thank you to all those who have taken the time to mail me with encouragement.
Wednesday, December 14, 2011
Atlas Edition Models
Atlas Editions at some time made several models which appear to scale out as 3mm models. There has been six or seven British outline locos including Flying Scotsman, Schools Class, Rememberance Class, West Country/Battle of Britain being the ones I can remember.
Of course Gresleys A4 Mallard is also one of the series as shown here. It is mounted on a plinth with a brass coloured nameplate and what appears to be 14.2mm track.
I have tried to take the thing apart with no sucess. The loco and tender are separate items, screwed to the base with four screws. However, when the screws holding the chassis together, apparently, are removed there the excitement ends. The chassis is stuck firm within the body and, not wishing to destroy what is a nice modelthe dismantaling process is stalled. A pity really as this would make an easy conversion, just having to make the chassis and attach the body.
Monday, December 12, 2011
Zvezda Soviet Truck ZIS-5.
The third of the useable offering from Zvezda arrived recently. To 1:100 scale, this is a 4 wheel light truck reminiscent of an old Bedford.
Interestingly this kit comes with two sprues, one includes the six wheel chassis used on the Katyush-A kit described recently. So there is the possibility of modification already. Together with an exploded assembly diagram, this seems to be as easily put together as the previous two.
So when I have another few minutes to spare this can be made, and I have three of them-just plain greedy!
Saturday, December 10, 2011
Southern Brake Van.
A Cambrian moulding is used in this Society kit. I don't know whether it is me but the plastic seems a lot softer than that on the Parkside ones.
However, the sprues are well moulded with only a little flash. The Baseplate on this one is a little warped but hopefully this can be put right when assembling.
A couple of options are available to the builder, an early van with even planking or a later build with uneven timbers.
The (poor) shot below, cruelly enlarged, shows the difference. So choices to be made before assembly begins- Decisions, Decisions!
Friday, December 09, 2011
Dorset Group Meeting
Don't forget that our next meeting is tomorrow 10th December.
Had news that tom Rayer, The Weatherman who visited us at Westfest will show us how to weather our models sometime in April. Please visit the Dorset Group page- click on pages on the left.
Had news that tom Rayer, The Weatherman who visited us at Westfest will show us how to weather our models sometime in April. Please visit the Dorset Group page- click on pages on the left.
Thursday, December 08, 2011
Plate Wagon build continued.
Carrying on from previously having assembled the body, we now turn our attention to the chassis.
The W irons have been opened out slightly for a snug fit of the pinpoint axle bearings. I used those available from Finney and Smith in this instance. Once these have been inserted, the spring and axle box moulding is attached on the outside of the W iron. The whole assembly is then glued in place onto the chassis. This one is very easy as there are numerous points to add Mek and make sure it is in the right position.
The body and chassis are now securely stuck to each other- I have used MEK throughout, applied with a small paintbrush, you dont need much as the excess will run everywhere and there is a danger of permanently adding a fingerprint impression somewher-Yes I have done it!
The lower shot shows the brakegear in place-wrongly in this case as I didn't read the instructions before applying adhesive and letting set.
However-you wont be able to see it when its moving so it stays as it is.
Tuesday, December 06, 2011
Zvezda BM 13, Katyash A 1:100 kit.
These kits are addictive! They are easily assembled in 20 or so minutes with little or no cleaning up of components needed.
The bonnet on this one can be modelled as open or closed- this will eventually have the hinged part in the open position allowing sight of the engine. The e3ngine moulding is somewhat rudimentary but it will make for something different.
The lower picture shows the rear of the truck, this will have to be thought about to find its purpose.
The other vehicle in the range is on it's way to me-that makes three useful additions to the vehicle stock.
Sunday, December 04, 2011
Ex-LMS Plate & Double Bolster Wagon.
Something a bit different. Hennock has few LWB wagons and I didn't posess this offering made by Parkside Dundas.
As can be seen, the kit comprises of five sprues and some excellent instructions, again by Paul Furner.
The history is quite detailed and references to building problems and possible modification are discussed.
Firstly, the two halves of the wagon floor and chassis are butt joined- this needs time for hardening to ensure a rigid structure.
The chassis is handed enabling the headstocks to fit correctly- get it wrong and they won't fit!
As seen on the left is the chassis joined and the headstocks in place. Once these are adhered the sides will be found to fit in recesses on the body part of the headstock assembly, These fit very neatly and parallel to the floor.
Next installment see's the chassis assembled.
Friday, December 02, 2011
Zvezda Opel Blitz 1:100 kit.
About 20 minutes work was all it took to assemble this Zvezda kit.
Simply part the components from the sprue, all fourteen of them (the fifteenth is for the war game-so not needed). They are extremely well moulded and the detail is very fine. A word of warning, the parts press together and I exerted too much resulting in me breaking the rear axle whilst fitting the wheels.
All is not lost however as the part was just pushed back into position!
 The windows are not for glazing, they are moulded onto the bodywork, they will look OK after they get the same treatment as the solid mouldings described recently.
I must say that for the money, these kits are worth every penny, those nice people at Shrewsbury Model Centre offer them for sale on e-bay and I would assume through their shop.
Several other retailers have them on sale so it is worth while spending a few minutes searching the retailers out.
Well, I won't be making the Rocket Launcher yet, I want to see how this one takes paint before embarking on the construction of that one.
Simply part the components from the sprue, all fourteen of them (the fifteenth is for the war game-so not needed). They are extremely well moulded and the detail is very fine. A word of warning, the parts press together and I exerted too much resulting in me breaking the rear axle whilst fitting the wheels.
All is not lost however as the part was just pushed back into position!
 The windows are not for glazing, they are moulded onto the bodywork, they will look OK after they get the same treatment as the solid mouldings described recently.
I must say that for the money, these kits are worth every penny, those nice people at Shrewsbury Model Centre offer them for sale on e-bay and I would assume through their shop.
Several other retailers have them on sale so it is worth while spending a few minutes searching the retailers out.
Well, I won't be making the Rocket Launcher yet, I want to see how this one takes paint before embarking on the construction of that one.
Subscribe to:
Posts (Atom)


